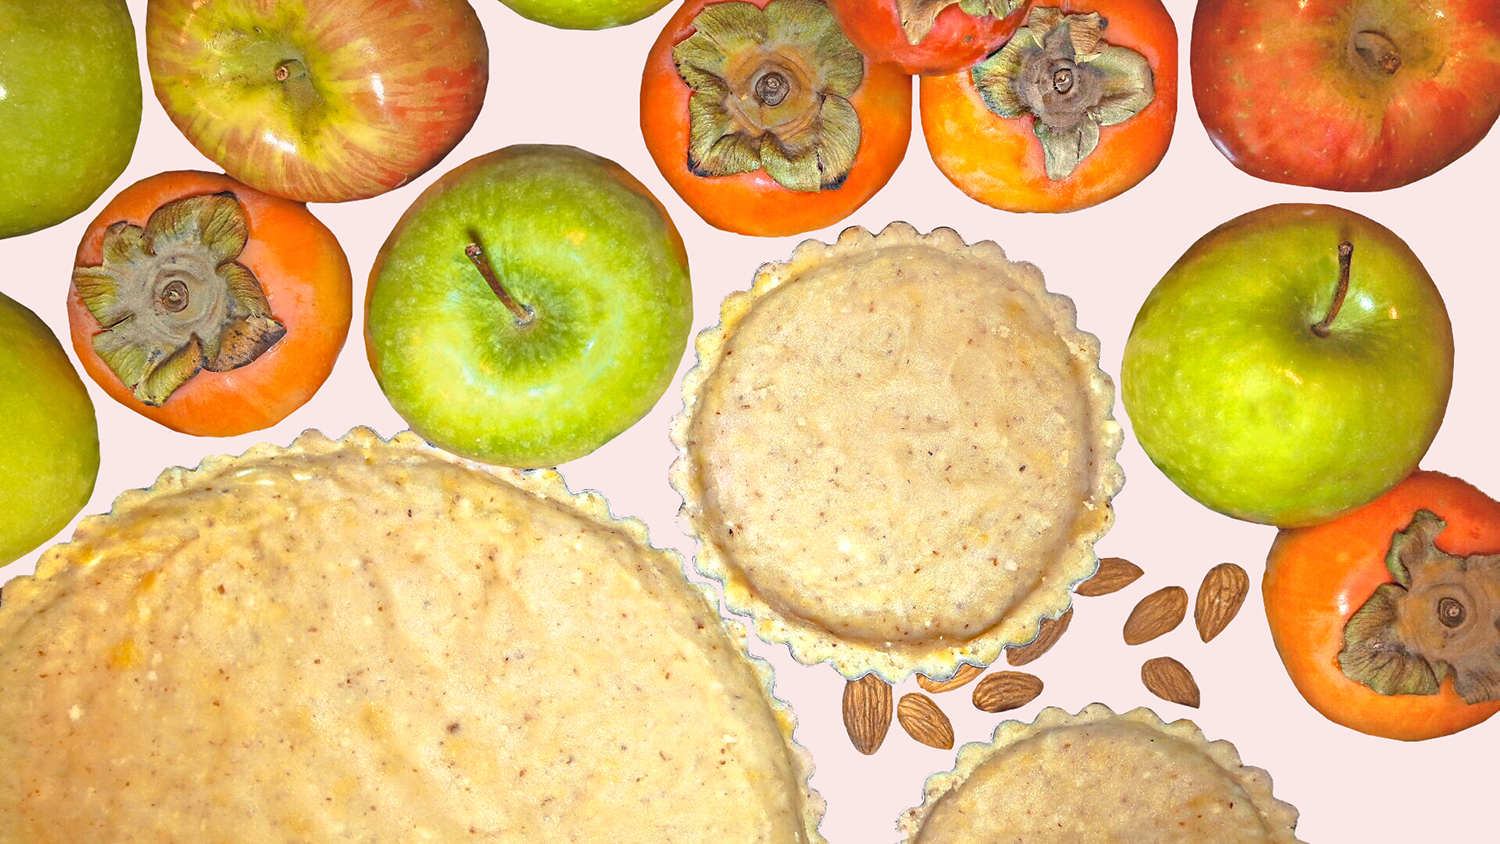
Have you ever wondered how to make the elusive rose tarts? I ended up using a recipe for an Almond crust and filling for both versions of my Rose Tarts. I found the recipe on Sugar Hero. Honestly you can make any sort of crust and just about any filling, then top it with the rose pattern. The filling needs to be a thick enough consistency to aid you in keeping your roses in place while building your design. I ended up loving the almond combination with both the apple and persimmon version!
If you’d like to try out the Almond recipe, go ahead and follow the above link or find another one, then come on back here for some instructions on the rose formation. I ended up referencing a Baking A Moment post, but inevitably it ends up being a trial and error situation. The ingredient you need the most of is definitely PATIENCE. No this isn’t easy, but you will learn what does and doesn’t work, and the end result is well worth the hard work.
Pick your fruit of choice. Grab a mandoline slicer or a very sharp knife. You are going to want to cut your fruit just about as thin as you can make them. I made 2 different versions with persimmons and apples.
Persimmon miniature rose tarts
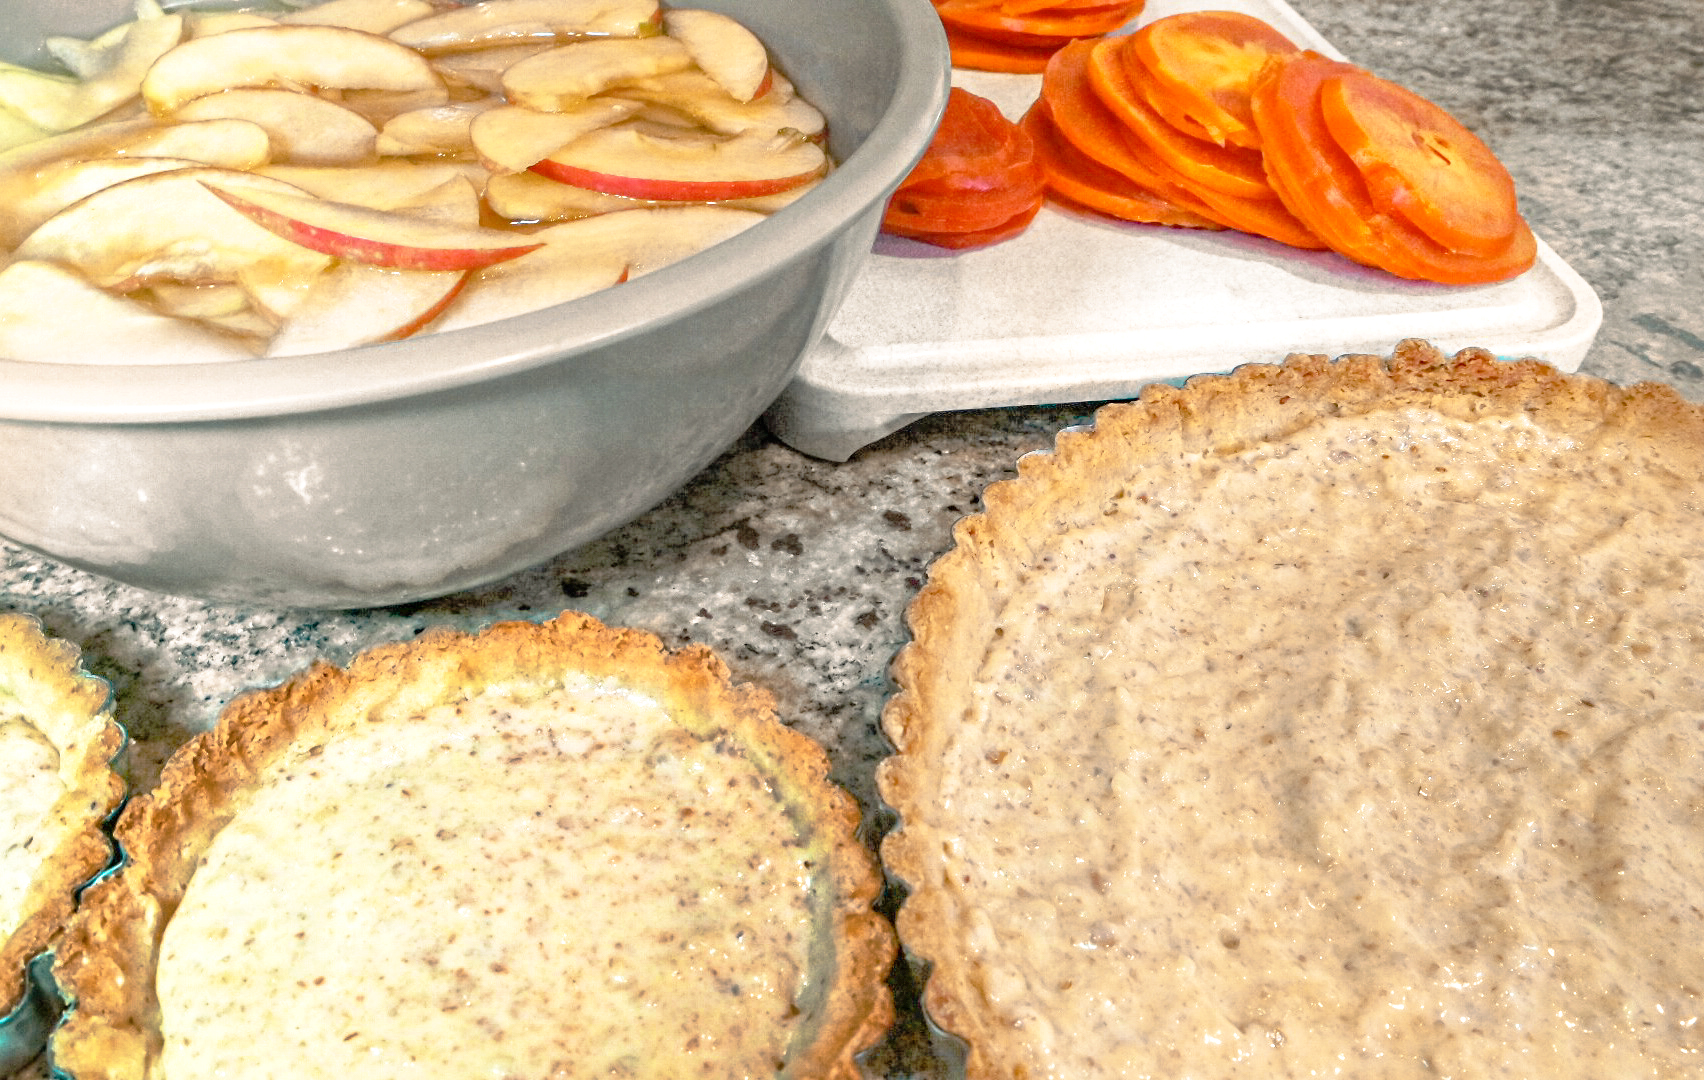
The persimmon doesn’t have a pit or core, so go ahead and cut the stem off, then start slicing as thin as possible. After you are done, cut these slices in half across each circular slice. Above is a photo of what my fruit looked like sliced (persimmons not cut in half yet). I was using a knife so they were definitely not as uniform as I would have liked.
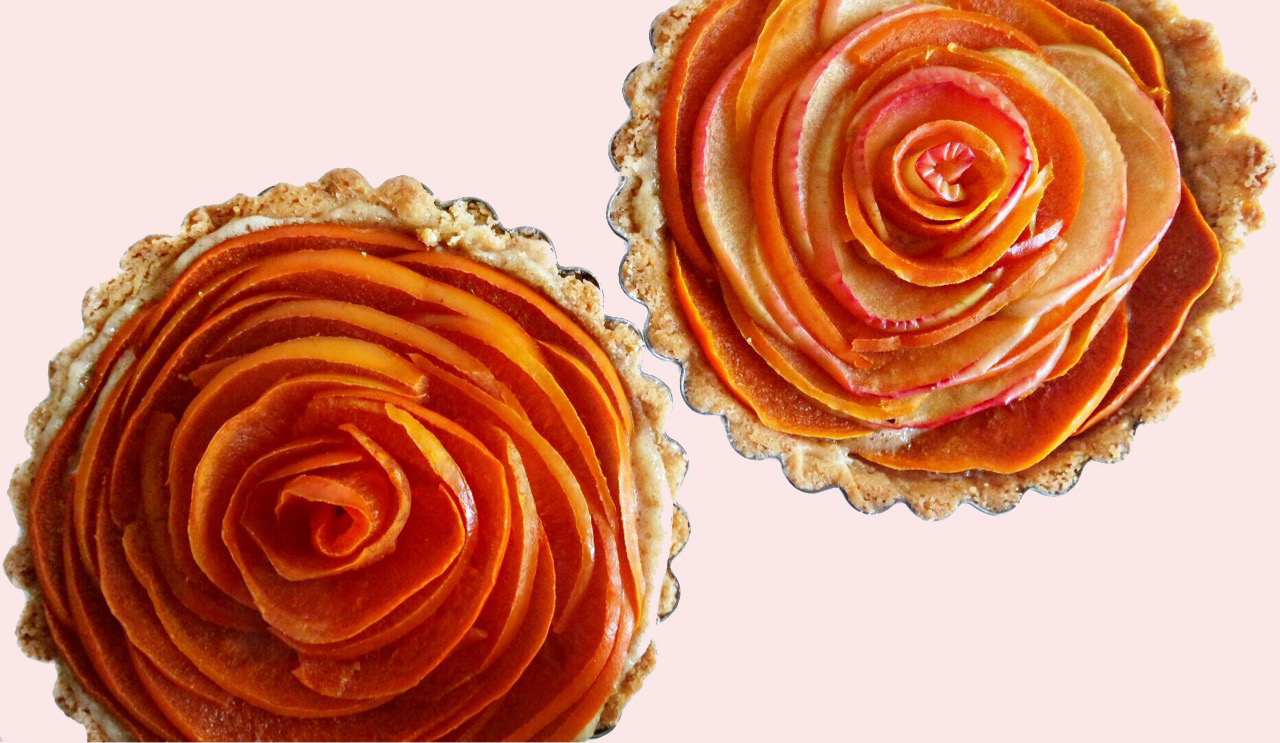
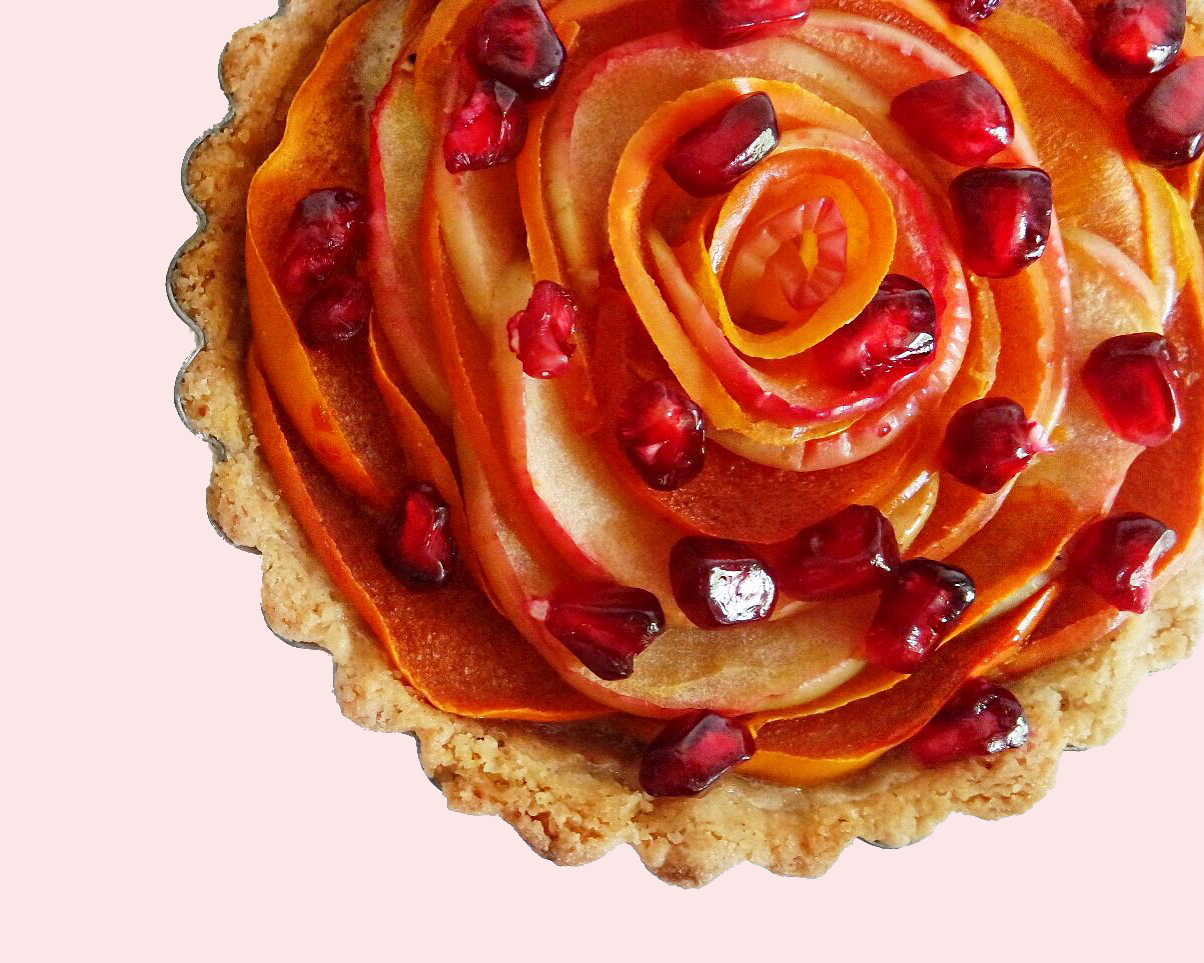
I used the persimmons for the miniature tarts. This is a much easier version of the rose tart. Start on the outside of the rose near the crust and start layering the half persimmon slices, overlapping a bit in a spiral until you end up in the middle of the pie. For the center “petal”, I ended up rolling a piece of persimmon up pretty tightly, and then placed a couple more slices around it to make the rose fuller. A toothpick can be helpful to move the fruit very small amounts when you’re trying to be a bit more precise. I also did one miniature tart with both apple and persimmon using the same technique.
Refer back to the Sugar Hero recipe for baking instructions.
I ended up sprinkling pomegranate arils on top of these tarts after cooking them, because I love the color combination.
Apple rose tarts
Cut apple (I used Granny Smith and Honeycrisp) into quarters and remove the core from each piece. Slice as thin as possible. (See first photo in post above) I ended up using about 8 apples. Also, if you are concerned about your slices turning brown or if you plan on slicing the day before, fill a bowl with water and the juice of half of a lemon and place your slices into it. This will prevent your apple from oxidizing. If this is your first time making a rose tart, there WILL be some waste. I ended up cutting up the unused pieces and throwing it into our stuffing for Thanksgiving. Get creative!
Make your apple slices more malleable
Lay out the individual slices onto a plate then microwave them for about 30-45 seconds. Start with 30 and then see how soft and flexible the slices feel. This is the point where that trial and error and patience will need to come in. Pop those babies back in for 10 second intervals after that initial 30 seconds until you think they’re ready. Next, grab your big pie crust with a filling layer already in it. I used 2 different kinds of apples for taste and visual impact. The Granny Smith ended up being a little bit easier to work with. The honey crisp works as well, but definitely breaks a lot easier.
The process
Here we go. Let’s see how well I can explain this process…bear with me. I did most of the rose forming in my hands before placing them into the filling. Since the Granny Smith was a lot more flexible, I used one of those slices for most of the middle pieces of the rose.
The middle of the rose is just a slice rolled around itself. Grab another slice and wrap it around that middle piece. Continue this with new slices until you’ve made a rose into the size you’d like, or until it’s too difficult to keep adding slices.
You will learn what techniques do and do not work for this. I started placing small roses around the edge of the crust. Place the rose with the last slice opening towards the crust, so it is more likely that it will not undo itself. Once you continue placing roses next to one another, they should help each other stay together and in place.
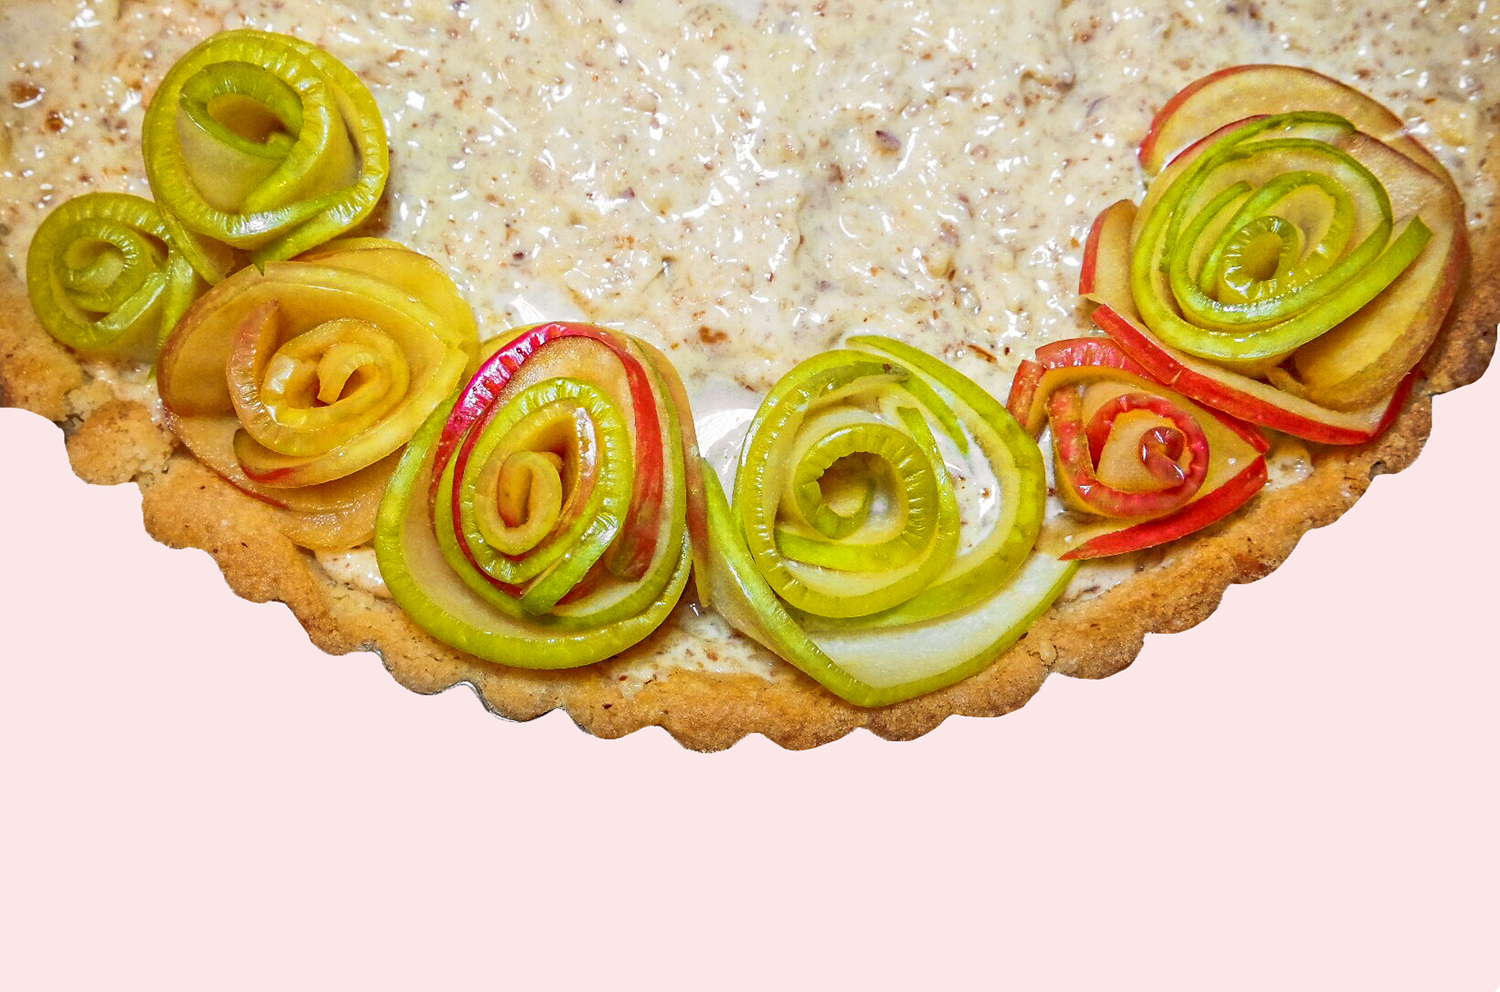

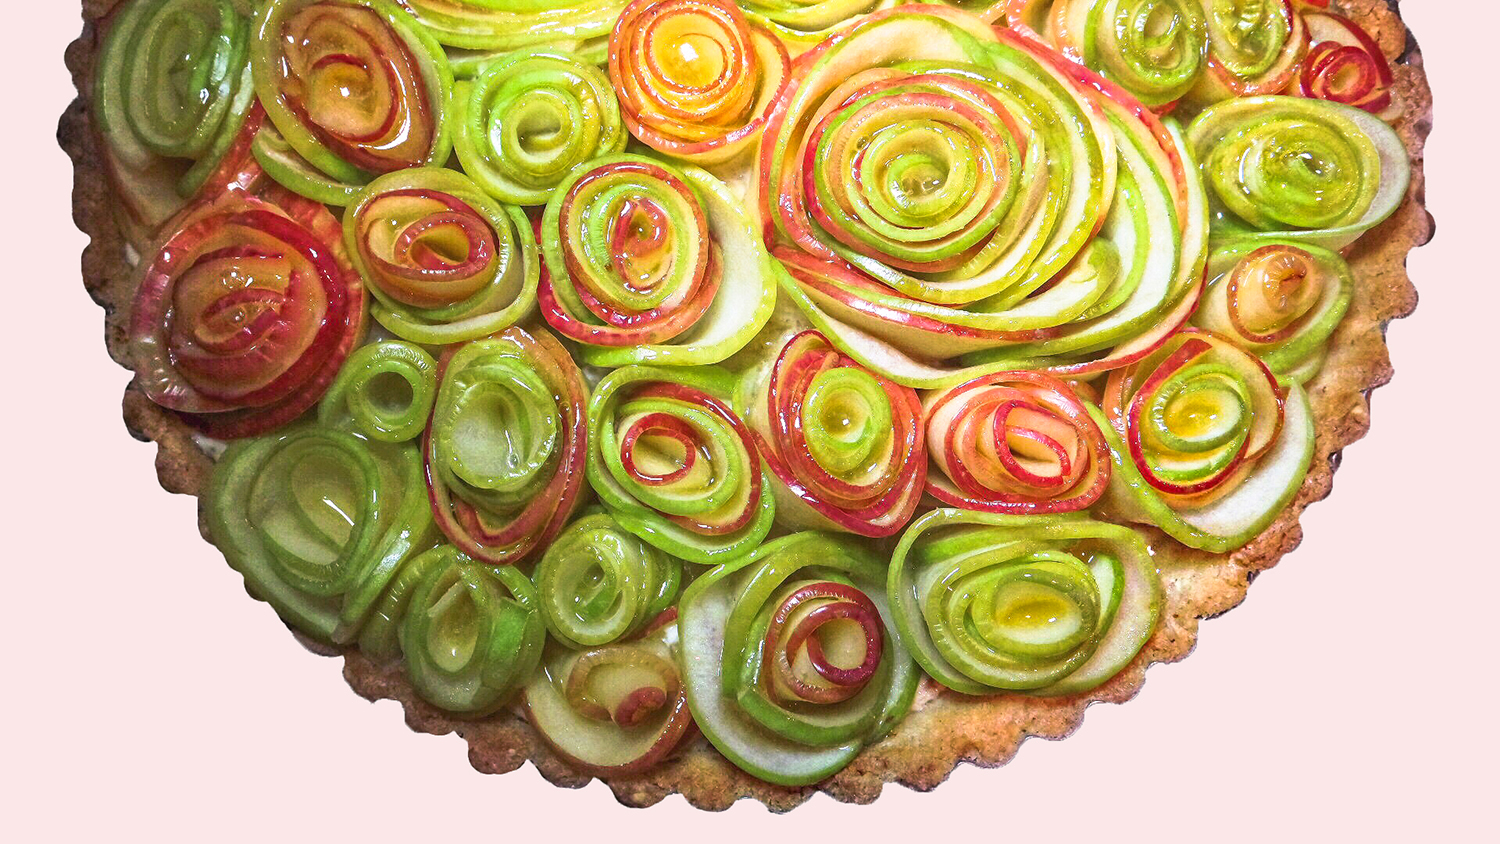
I wanted some contrast in size in my rose tart, so I decided to make a couple bigger roses. It’s best to place a bigger rose when there is a place for it in your tart, with small roses already surrounding where you would like to place it. This way it has some support once you end up putting it into the pie filling. This is a more difficult step. Be patient and keep wrapping slices. If you have bigger slices, they may be more helpful to keep the rose together. You can always place the rose into the filling, when you feel like you can’t add any more “petals” and keep placing slices wrapping around the rose. This is where a toothpick can come in handy again.
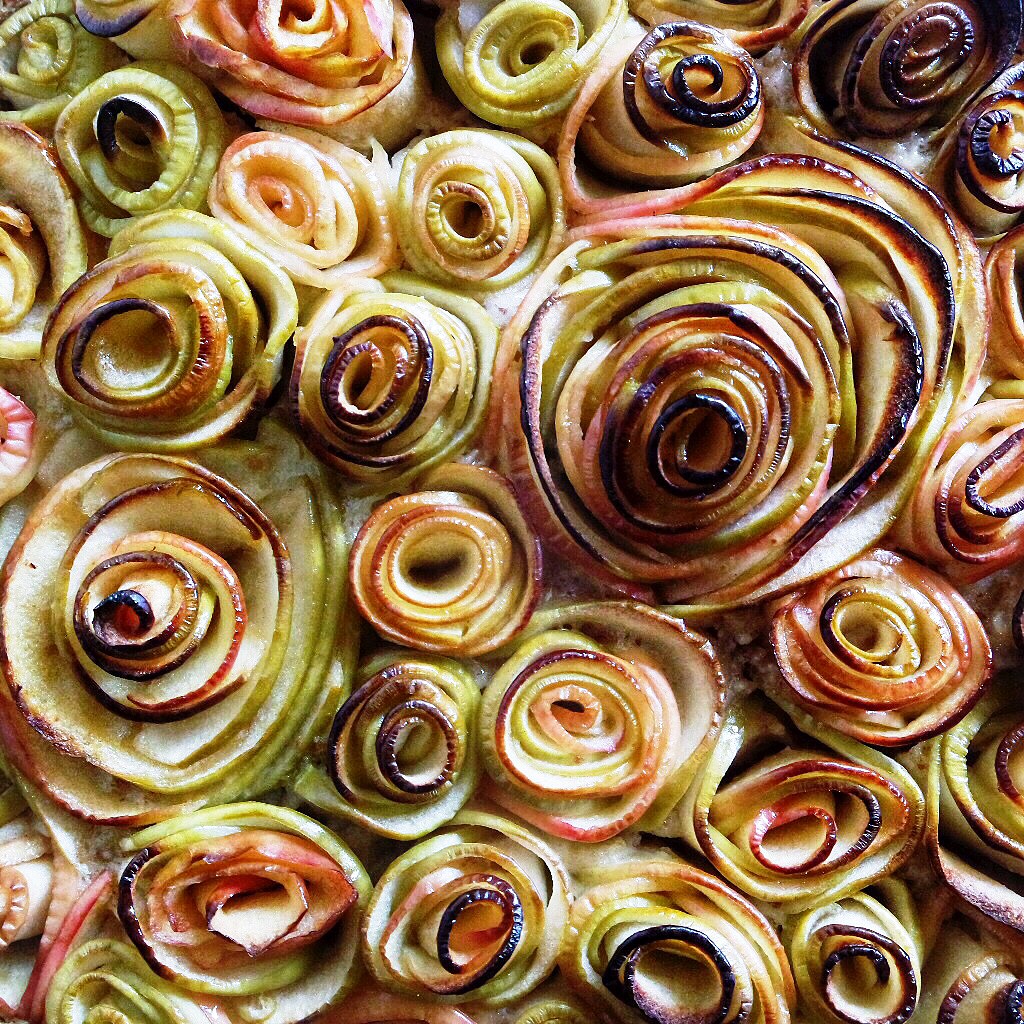
Continue placing roses until your whole tart is filled. You want the roses to be pretty tightly packed.
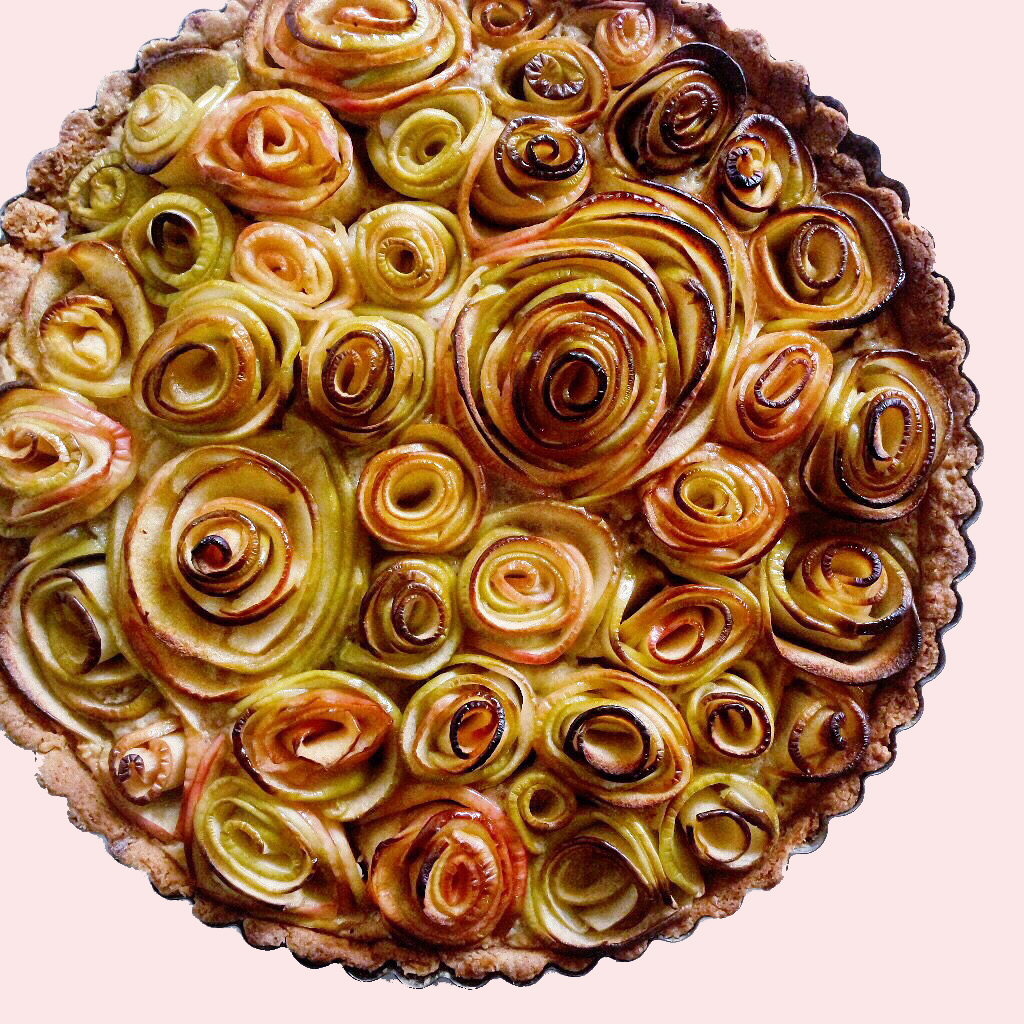
In order to achieve the gorgeous nicely cooked edge of the “petals” and to add a little bit more taste, I mixed 4 TBSP of melted butter and 1 TBSP of honey together, then drizzled it over the whole tart.
I cooked the tart at 350 degrees F for about an hour, but you will want to watch it depending on your oven and other factors. I would start out checking it after 30 minutes and then continue to keep an eye on it until the top looks evenly cooked. The filling should also start to rise a bit. I had to rotate my tart a couple times, because the top was cooking unevenly. Keep an eye out for this.
I know this is a difficult thing to explain in text form, but I hope it was helpful and you can successfully create a rose tart for a future get together, or just because you feel like making something pretty!
Happy Baking,
Corey


[…] was unsure of what to do with them. The only other time I’ve made anything with persimmons is these Rose […]