
When Local Hive Honey reached out to me to partner, I immediately knew I had to make a Sweet & Salty Honey Pie. That makes this a sponsored post, but all opinions are my own
Sweet & Salty Honey Pie – the inspiration
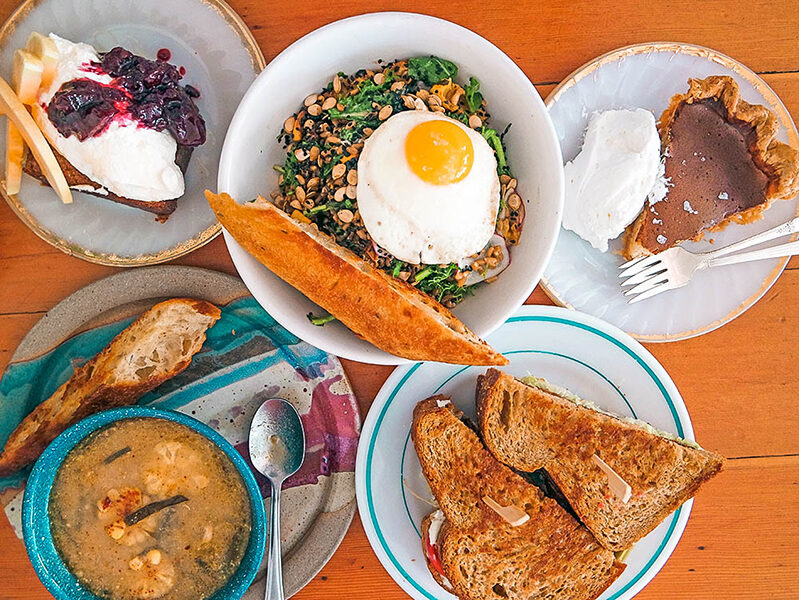
A few years back, I ordered a slice of Sweet & Salty Honey Pie in Portland at Sweedeedee (photo below) & truly haven’t stopped thinking of it fondly since. Here’s my Portland travel guide!
There are quite a few reasons I was stoked to work with Local Hive Honey – from being family run for 4 generations to truly living out their name. There’s an interactive map on their website, where you can click on your location & find out all about the honey they make near you!
We partner with beekeepers all across America to provide honey from your own backyard – wherever your backyard may be.
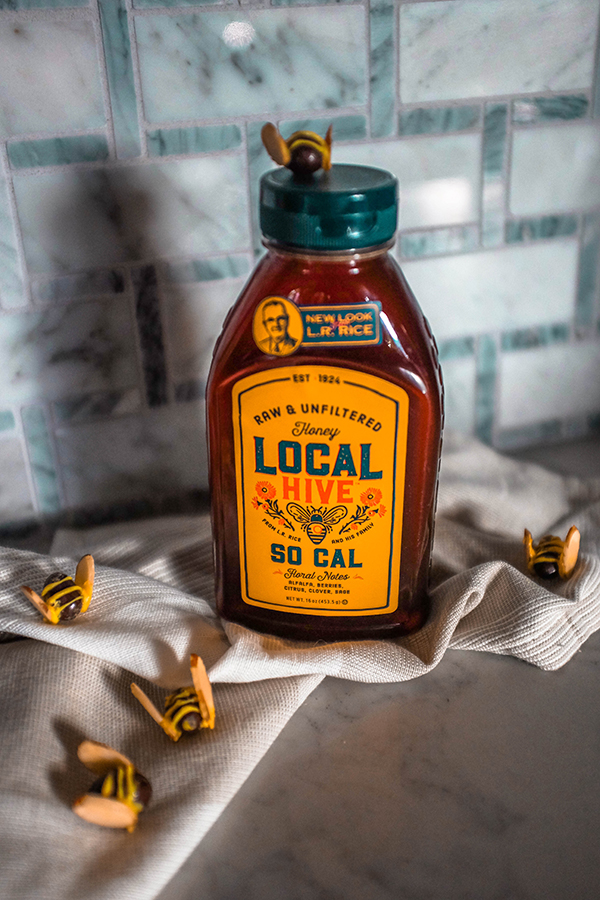
My honey is from SoCal and has Floral Notes: Alfalfa, Berries, Citrus, Clover, & Sage
Freshly pollinated from the California citrus groves, our So Cal honey has a medium sweetness and short bite, followed by a lingering orange flavor.
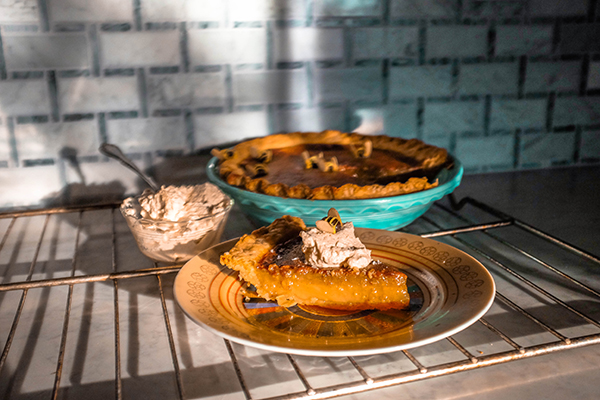
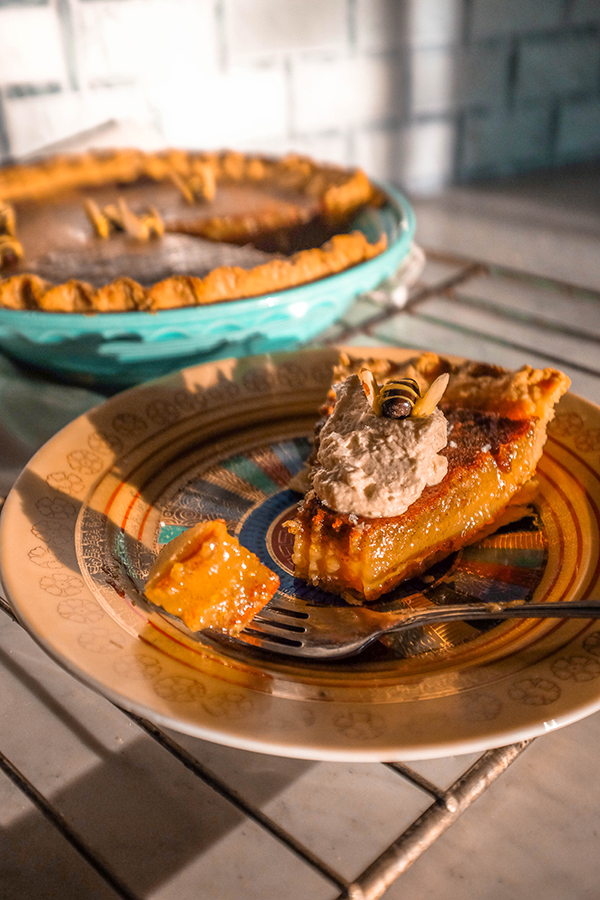
Before I get to the Sweet & Salty Honey Pie recipe, I have to say that I had high hopes for it & I’m proud to say that all of them were exceeded. I bake A LOT – it’s my thing – & this is hands down the best thing I’ve ever made. I’m salivating thinking of the slice waiting for me downstairs for dessert tonight! Now onto the recipe! I found a few blogs that made tweaks to the Salty Honey Pie recipe from the Four and Twenty Blackbirds Pie Book. I mostly went off of Hummingbird High’s post, but changed a bit & added some twists to make it my own. I wanted more fall flavor, so added cinnamon into the recipe & also made a vanilla & cinnamon whipped cream sweetened with honey to top the pie off, along with edible “bees”. For best results, this recipe takes 2 days in the kitchen, so definitely plan for that! I promise IT’S WORTH IT.
Sweet & Salty Honey Pie – the best pie crust recipe
Servings: 8 (or more, depending on how small you cut the slices)
Prep time: about 45 minutes
Patient waiting time: 1 hour + overnight/at least 3 hours in the freezer (you will understand this when you read through the recipe) — yes it’s torture, but well worth it & a practice in patience 😉
Cook time: about 45 minutes
Sweet & Salty Honey Pie – Crust Ingredients
- (makes one 9-inch pie)
- 1 1/4 cups all-purpose flour
- 1 1/2 TSP granulated sugar
- 1/2 TSP salt
- 1/2 cup frozen unsalted butter
- 1/2 cup cold water
- 2 TBSP apple cider vinegar
- 1/2 cup ice
Sweet & Salty Honey Crust Directions
- In a medium bowl, mix together 1 1/4 cups all-purpose flour, 1 1/2 TSP granulated sugar & 1/2 TSP salt. Cut 1/2 cup frozen unsalted butter into about
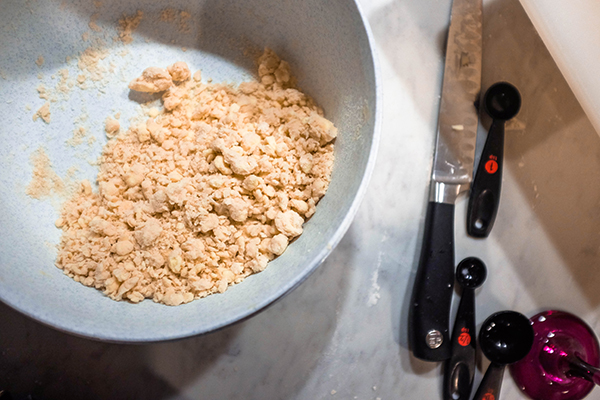
1 inch cubes. Add to mixture. Use a pastry cutter to combine until everything is pretty well blended. It’s okay for pea-sized pieces of butter to remain. You can also use a fork for this step. - In a glass measuring cup, mix together 1/2 cup cold water, 2 TBSP apple cider vinegar & 1/2 cup ice. Add 2 TBSP of this mixture to the flour mixture from above. Using the pastry cutter, mix until
liquid is fully incorporated. Add more of the liquid mixture, 1 TBSP at a time, until the dough starts to come together (It’s very likely you won’t use all of the liquid — I used about half). Note: The consistency should look similar to the above photo). Start to form a ball with your hands, incorporating remaining dry bits. Use your hands to form the dough together into a flat disc, wrap in plastic & refrigerate for at least 1 hour (preferably more). - Once the dough has chilled, generously sprinkle a work surface with flour. Unwrap the dough & place it on the work surface, sprinkling the top with flour. If the dough is too hard, you can let it rest for a few minutes. If the dough seems too sticky at first, generously add more flour. Use a rolling pin with light pressure to roll from the center out, rotating the dough as you go. Roll it into about 12 to 13 inches in diameter & about 1/4 inch thick.
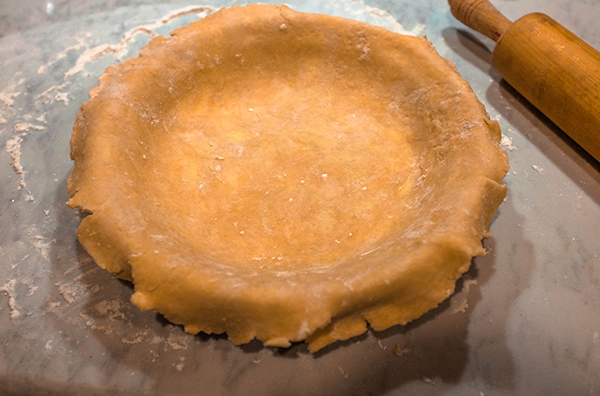
- Move the dough into the pie plate by placing the rolling pin in the middle wrapping each side of the dough around the rolling pin, then lifting into the pie plate. When the dough is in the plate, gently press it into the bottom & sides of the plate. Fold the excess pie dough in towards the center of the pie plate. The dough should still go to the edge of the pie plate. At this point crimp the edge of the crust as you’d like. I use my thumb & 2 fingers to do so. Once you’re done, cover loosely with plastic wrap & freeze for at least 3 hours, preferably overnight.
Feeling lazy? Here are the perks of planning ahead & freezing your crust overnight: It will absolutely not be soggy on the bottom, won’t shrink up & will come out deliciously flaky. WORTH IT!
Since the pie crust needs its time in the freezer, I made the bees next!

Edible “bees” Ingredients
- chocolate covered raisins (however many bees you’d like + a few extra + some to snack on) — I did about 15
- white chocolate chips
- turmeric
- sliced almonds
- toothpick
I got this cute idea from a post by Host the Toast but decided to use turmeric to color the white chocolate instead of food coloring. I like to make changes to natural ingredients when possible!
Edible “bees” Directions
- Cover cookie sheet with parchment paper. Place chocolate covered raisins in rows. I set out 15 total.
- Pour about 1/2 cup (you’re going to have a lot leftover) white chocolate chips into a microwave safe bowl. Microwave for 30 seconds, then stir. Microvave in 15 – 20 second intervals, stirring in between, until completely melted.
- Shake a pinch of turmeric into white chocolate & stir. Add a shake at a time until it’s at your desired yellow color.
- The chocolate is probably too thick to drizzle. If so, add a tiny bit of oil (I’d say 1/2 TSP at a time) & stir until it’s the right consistency.
- Dip one end of the toothpick into the chocolate. When you lift the toothpick out of the chocolate, it should begin to drip into a line. Bring it over to the raisins & work pretty quickly to draw stripes on. Some won’t come out very cute, which is why I set out extra!
- Pick out almond slices for the wings. Let the chocolate in the bowl cool off a bit more (you could melt some regular chocolate for this part, but it didn’t bother me too much using the yellow). Dip one end of each wing into chocolate, then place on either side of the prepared raisins. If they aren’t sticking, try holding them in place with your fingers for longer, or let the chocolate in the bowl cool a bit more.
Sweet & Salty Honey Pie Filling Ingredients
(makes one 9-inch pie)
- 1/2 cup unsalted butter, melted
- 3/4 cup granulated sugar
- 1 TBSP cornmeal
- 1 vanilla bean, cut in half & contents scraped out
- 1/2 TSP pure vanilla extract
- 3/4 TSP cinnamon
- 1/2 TSP salt
- 3/4 cup honey
- 3 eggs
- 1/2 cup heavy cream
- 2 TSP apple vinegar
- 1 TBSP flaky sea salt, for finishing (I prefer Jacobsen)
Sweet & Salty Honey Pie Filling Directions
- Once your pie crust has been crimped & frozen, make the filling. Position a rack in the center of the oven & preheat to 375* F.
- In a medium bowl, whisk together 1/2 cup melted unsalted butter, 3/4 cup granulated sugar, 1 TBSP cornmeal, contents of 1 vanilla bean, 1/2 TSP vanilla extract, 3/4 TSP cinnamon & 1/2 TSP salt. Whisk in 3/4 cup honey, then whisk in 3 eggs. When thoroughly combined whisk in 1/2 cup heavy cream & 2 TSP apple cider vinegar until fully incorporated.
- Place the frozen pie shell on a rimmed baking sheet & pour filling into the shell. Transfer the baking sheet containing the pie to the middle rack of the oven & bake for 30 minutes. After 30 minutes, rotate the baking sheet 180 degrees & continue baking for an additional 15 to 20 minutes. The pie is finished when the crust is golden & puffed up a bit; the center of the pie will still jiggle a bit but will look more gelatinous instead of liquid & will be a dark golden brown. Allow to cool completely to room temperature on a wire rack, about 3 to 4 hours (I know, this is a form torture, but it helps the pie set up & come out in solid pieces while serving).
Honey Whipped Cream Ingredients
- 1/2 cup cold heavy whipping cream
- 1 TSP honey
- 1/8 TSP vanilla extract
- 1/8 TSP cinnamon
Honey Whipped Cream Directions
- Pour heavy whipping cream, honey, vanilla extract, &d cinnamon into mixing bowl. Whisk on high speed until medium to stiff peaks form, about 1 minute.
- Do not over beat.
Slice the pie & serve — dollop whipped cream on each slice & sprinkle with flaky sea salt immediately before serving. The pie will keep refrigerated for 4 days or at room temperature for 2 days.
I can almost guarantee that this pie will be your new favorite dessert & if it’s not you’ll at least really like it. And if you don’t, you must be one of those people who isn’t “a dessert person”. Anyways, let me know what you think! My family has already demanded that I make this again for the holidays!
Happy Baking,
Corey


Hi, I drooled over this and think you made such a great pie. OMG and the bees! Perfect!
[…] time around, I made some adjustments. I decided to use the dough form my Honey Pie recipe, because I’m convinced it makes the best, most buttery, crunchy, flaky crust […]
[…] Salted Honey Pie: It tasted exactly like honey, in pie form. I want a slice right now. I actually recreated this recipe here. […]